Flo-Jo Blog

 RSS Feed

Category: Sewing Tips

  1. Flo-Jo Swimming Costume Belle!

    Posted on

    Happy Saturday everyone,

    The sun is shining here in Bristol and we are feeling inspired to start sewing things for our spring/summer wardrobes! What is the most summery piece of clothing you can think of?

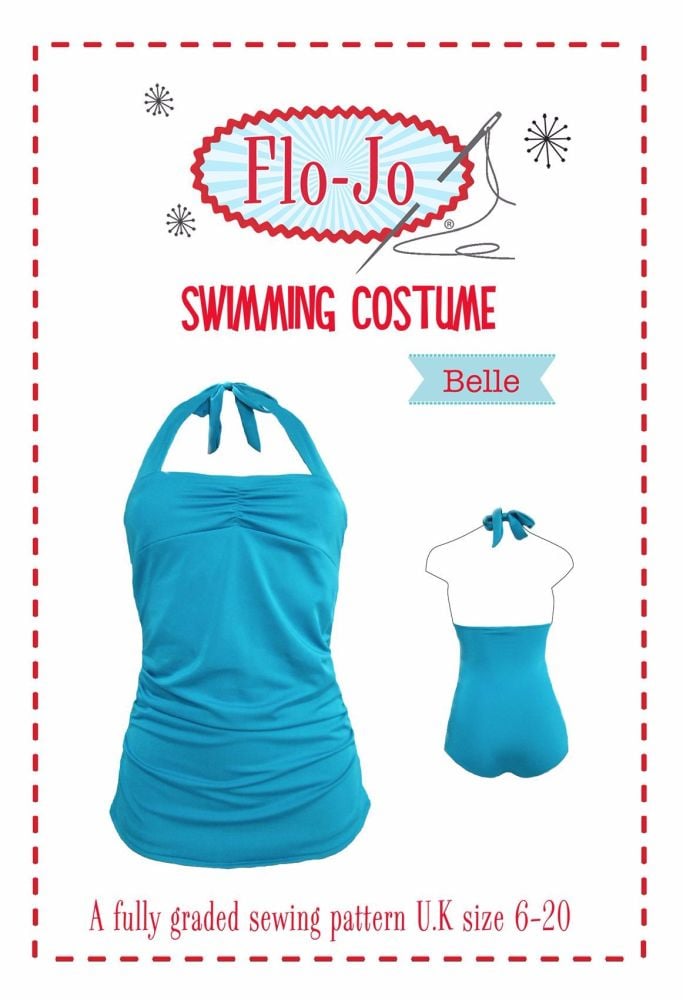
    For us it has to be a swimming costume and as it happens we've got a brand new sewing pattern to share with you, meet Belle!
    belleswim

    Our Flo-Jo Swimming costume 'Belle' is a fully graded sewing pattern in sizes UK6-20. Aimed at confident beginners and intermediate sewers, this pattern features a flattering vintage styled fit with a gathered front panel, halter neck tie and inner bust support. Included in the pattern are clear instructions and diagrams to guide you along!

    If you have worked with stretch fabrics before, making your own swimming costume is a great next level skill! At first it might seem intimidating, but with a couple of cups of tea and some focus you can make it yourself! 

    Once you've got the pattern you need to get all of the supplies! We know sourcing swimwear fabric can be difficult so we've done it for you! In our webshop you can find 5 different prints all at £12 per meter. We also stock clear elastic as well as soft waistband elastic which we've got in 6 different pops of colour!photo 1 (12)We recommend using a 100% polyester thread as it will create a longer lasting garment and is more durable for sewing swimwear.photo 2 (10)You don't need an overlocker or a fancy sewing machine to make your own swimwear. We recommend using a stretch machine needle to prevent skipped stitches and for some seams you can use a twin needle. Test your stitch length and experiment with different width of zig-zag stitches on a piece of scrap to find the best combination for your seams.

    If you would like to join us we are having an Instagram Party on the first bank holiday of May! Please share your progress and finished make using the #sewflojobelle

    Get 15% off everything to make your own 'Belle'! Offer ends 30th of april.sewflojobelleblog

    Happy sewing!

  2. A helpful Machine Needles guide

    Posted on

    Machine Needles


    Most machine needles all look much the same and all modern machines use the same type however there are differences in thickness and the tip types that work with different types of fabric.


    Machine needles are numbered, in either metric/ European or imperial / American,  of course we /U.K. use a bit of both! Most packets have both numbers on but some don't!

    European size   60  65  70  75  80  90  100  110  120

    American size   8     9  10  11  12  14   16     18   19

    The higher the number the thicker, heavier the fabric your working with.  The lower the number the finer the fabric.

    Most mid weight fabrics, cottons, are best with a 80/12  or  90/14

    The finer the needle the harder it is to thread as the hole seems to get very small, be warned those of you just approaching the needing of glasses age!

    If your needle is too fine it can cause the thread to shred and this could lead to the machine jamming. Back to the dreaded bunching up!

    Some needles are Universal which means they should go through different types of fabric, like jersey, knits and wovens. However to get best results when using different fabrics I advise to change the needle. Here is a list of some of the different types you can buy.

    photo 4 (9)

    • Ballpoint needles are made especially for knits
    • Sharps  are for very tightly woven and fine fabrics
    • Denim/Jeans needles are often thicker for lots of layers of denim and great for top stitch thread
    • Leather Use for suede and leather stitching
    • Stretch   for microfibers and fabric with high spandex content/swimwear
    • Twin needle for stretch fabrics this creates a very professional look with a double top stitch on the top and a zig zag underneath.

    Always test your stitching on a piece of scrap before you start working on your project. If the threads are not looking good and you've checked everything else it could be the needle is old and blunt. It's worth changing them every now and again to get the best results when sewing.

    Another good thing to always remember is to place the flat side at the top of the needle towards the back of the machine whenever you are changing needles, use the screw driver that came with the machine too loosen and tighten.

    Happy Sewing!