Flo-Jo Blog

 RSS Feed

Category: Latest Makes

  1. Reduce, Reuse and Recycle your scraps into a sewing project!

    Posted on
    Hello,
    Sabina here with a blogpost for all you Flo-Jo sewers!
     
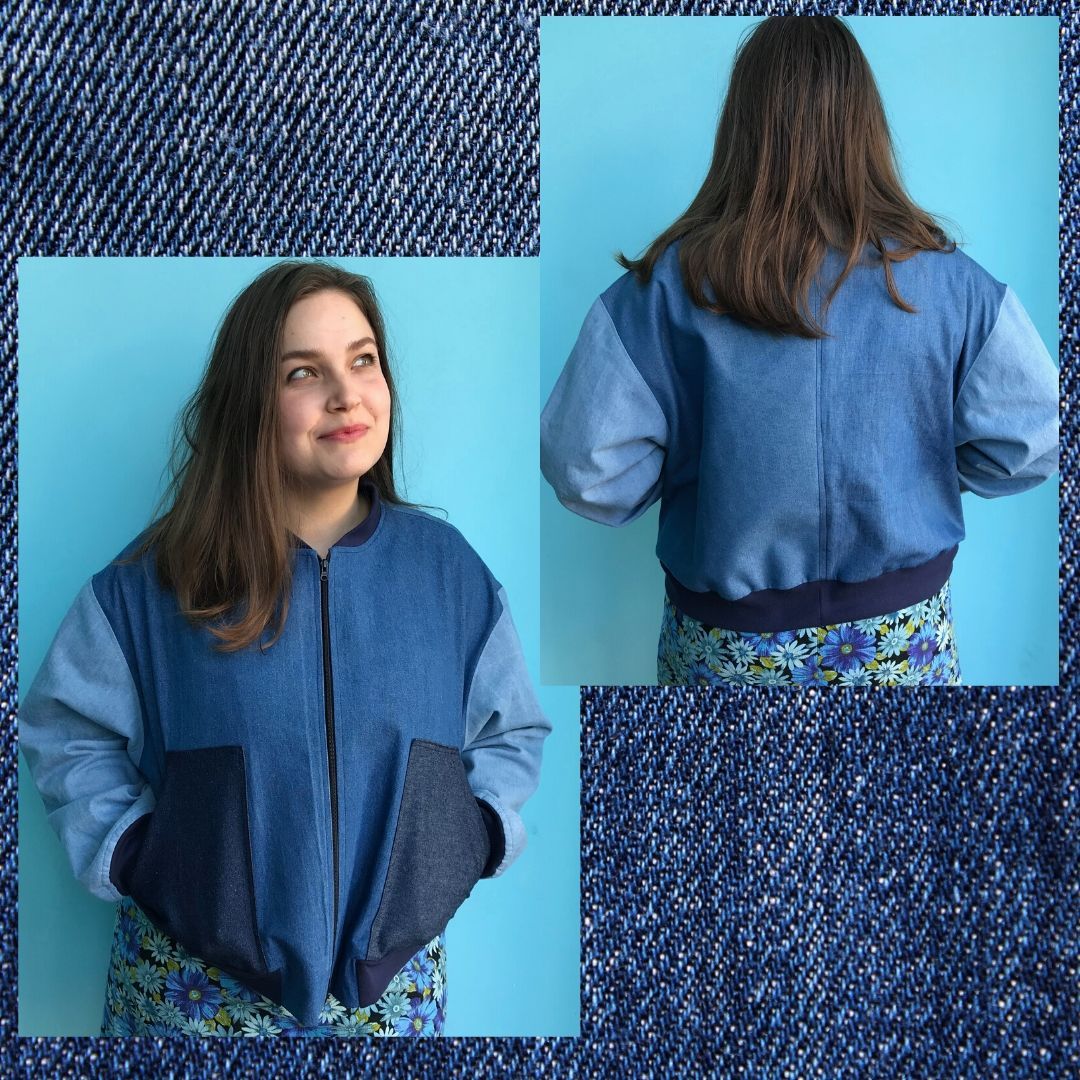
    I was inspired by this weeks Great British Sewing Bee theme which was 'Reduce, Reuse, Recycle' and I jumped on the challenge to transform my scraps into a bomber jacket, much like the one in this weeks episode.
    I am sure that I’m not alone in keeping my offcuts from previous projects without having a plan for them so I hope I can inspire you to take a second look at your scraps. 
     
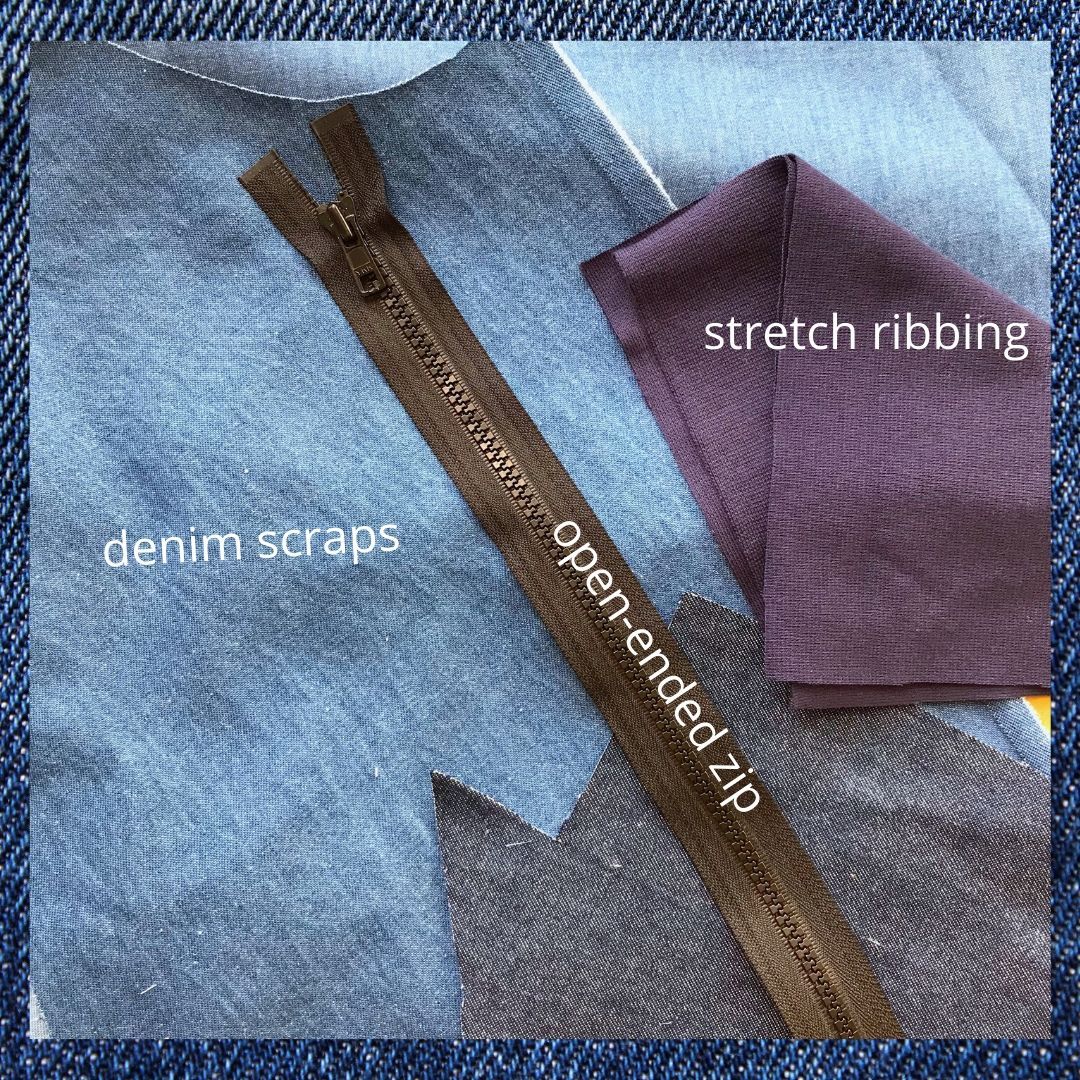
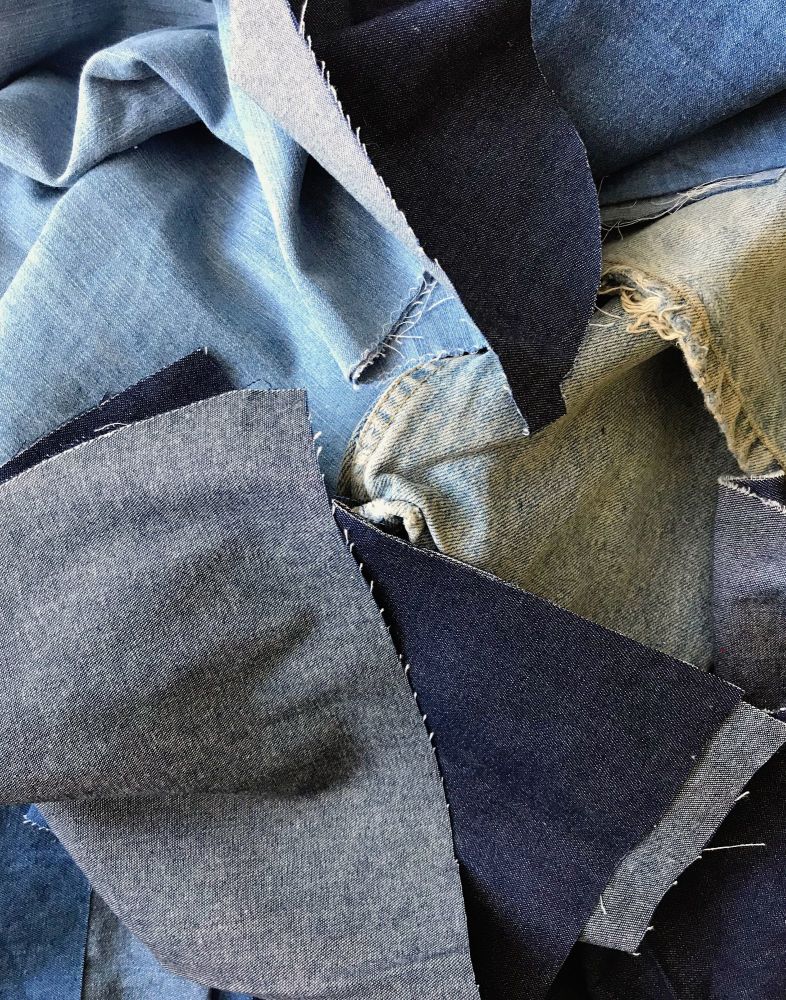
    To start with, I decided to go through all of my denim scraps, there is a mix of everything from my dad's old denim shirt to leftovers from skirts I’ve made. Make sure that all of your bits and pieces are of a similar properties of denim as this will make it easier to stitch them together. 
     
    IMG_0912
     
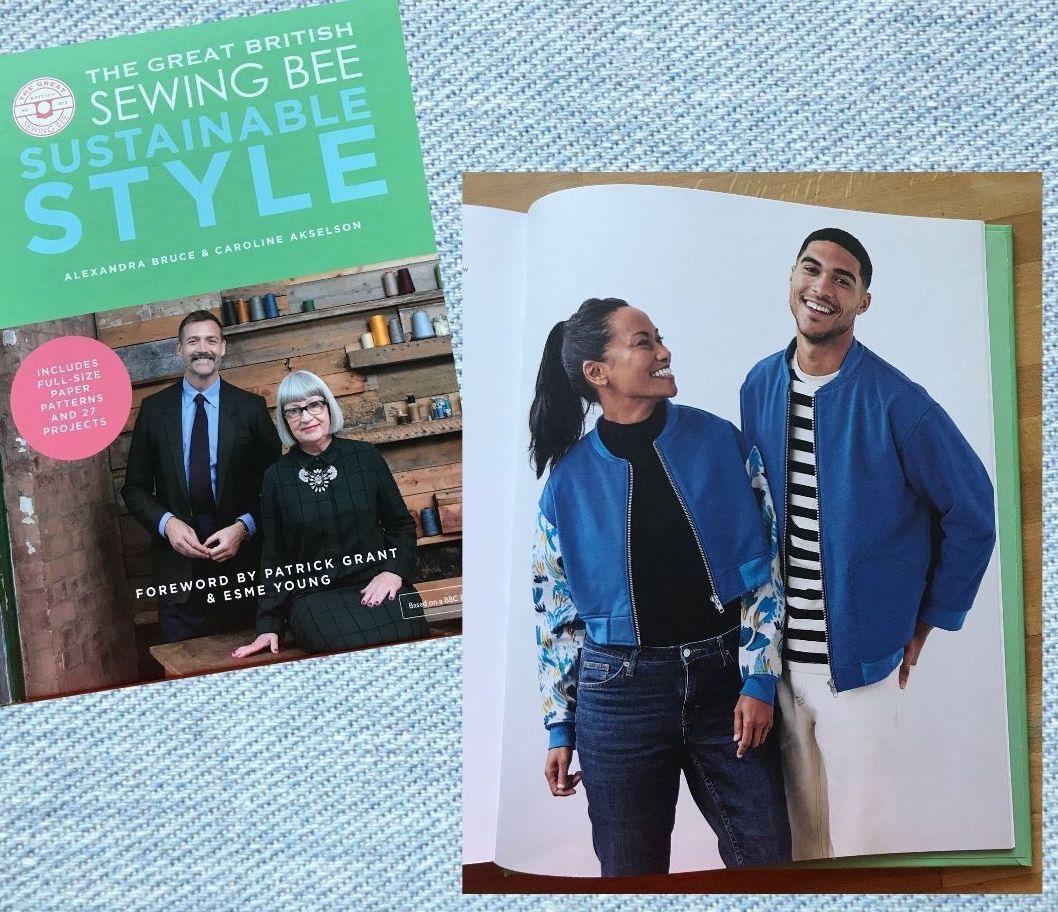
    The pattern I used for this project is the 'Bomber Jacket' from this years Sewing Bee Book 'Sustainable Style'. I altered the sewing pattern to make it slightly shorter than the regular fit but not so cropped that I had to remove the pockets.
     
    bomberjacket
     
    I cut out all of my pieces from 6 different scraps of denim, the zip was leftover from a previous project and I used the navy tubular ribbing from Flo-Jo Fabrics Online shop.
     
    scrapjacket
     
    We've had lots of brilliant jackets and hoodies made in our after school sewing classes pre-lockdown. When the workshop is open I cover how to sew with stretch ribbing in our 'Intro To Sewing with Jersey Class.' Until we re-open I thought I’d share some useful tips with you here! 
     
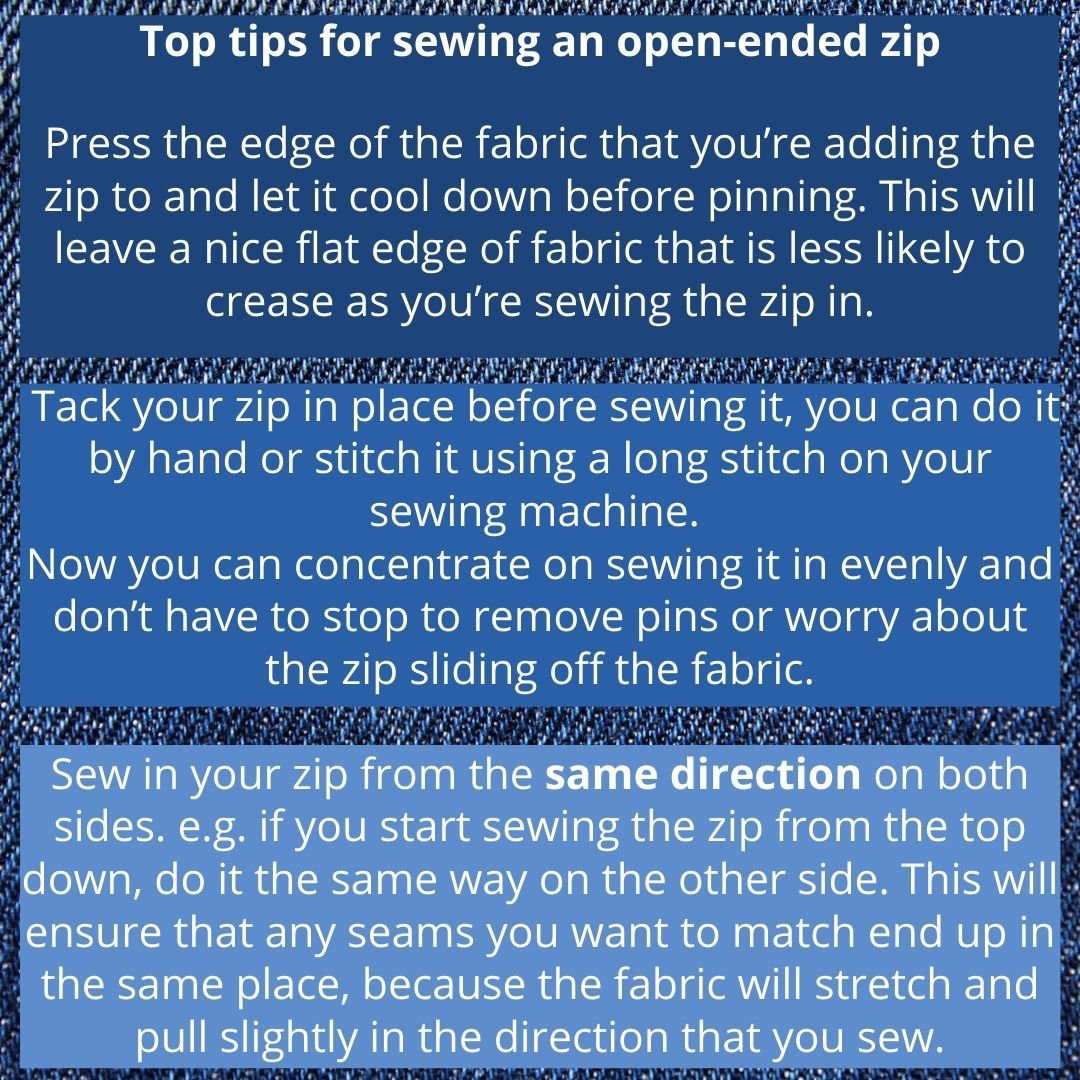
    top tips zip
     
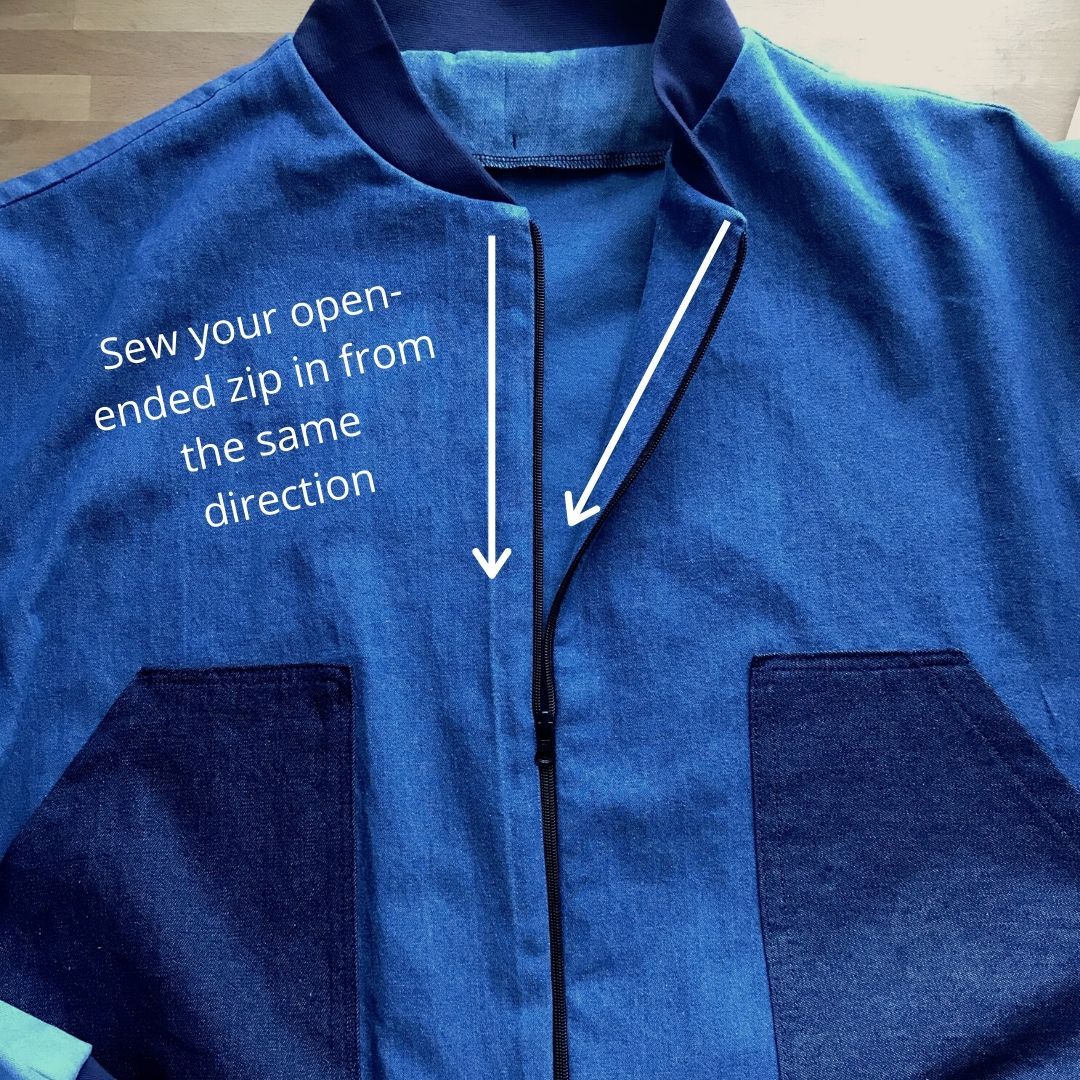
    bomberjacketzip
     
    Sewing the cuffs
    Stretch ribbing is a great way to finish off a sleeve hem, neckband or waistband. There are lots of different colours and patterns available in the shop at the moment here. There are so many ways you can change a simple hoodie by just adding a contrasting cuff or a sporty ribbing with stripes.
     
    stretch
     
     Sewing Cuffing Step By Step
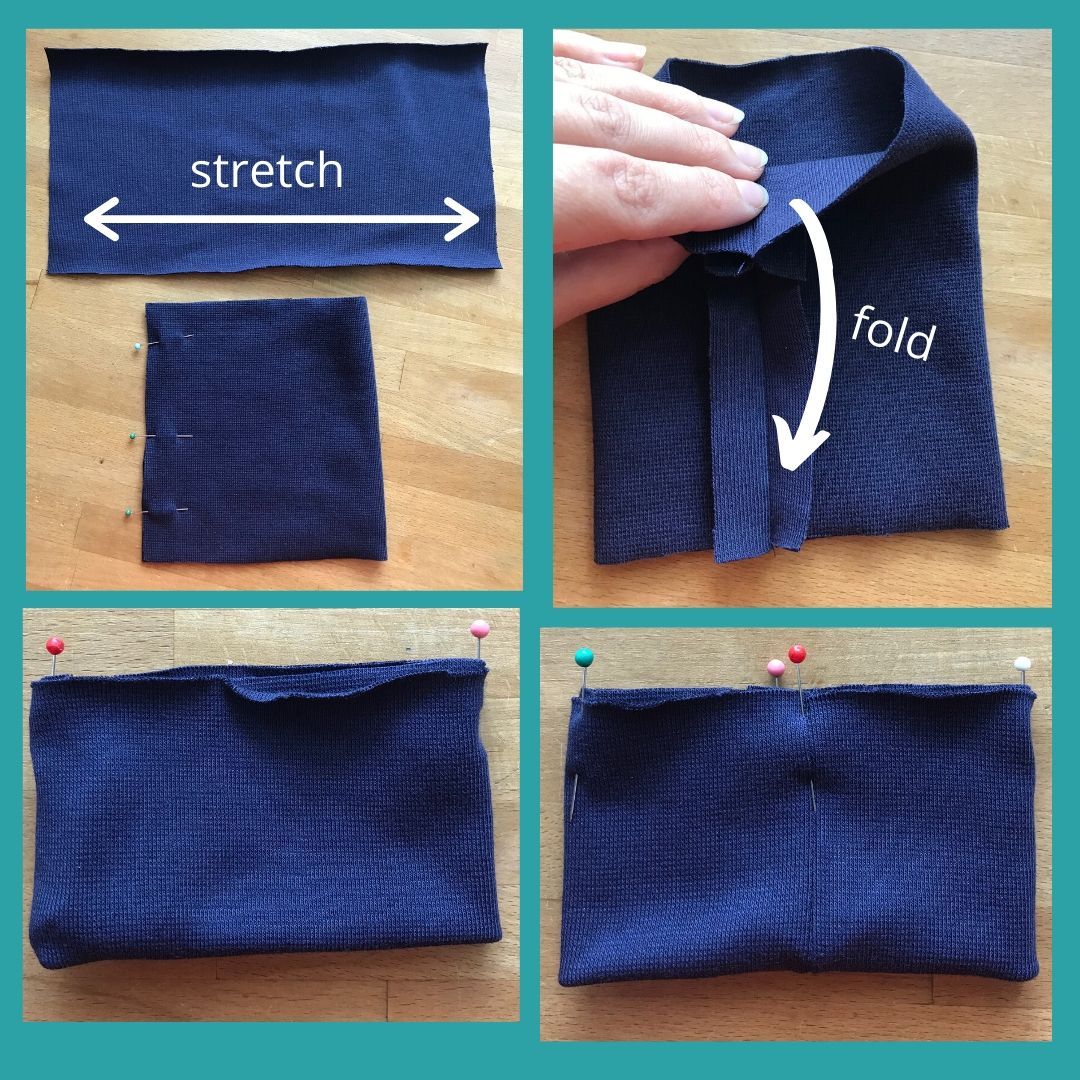
    1/ Make sure the stretch of the cuff is going sideways before cutting out your pieces.  Fold the cuff to match up the short sides right sides together, then pin and sew.
    2/ Press the seam open and fold the cuff in half so that the seam is on the inside.
    3/ Divide the cuff into two by putting a pin where the seam is and then another one on the opposite side.
    4/ Line up the pins together and put another two in to divide the cuff into four. 
     
    cuffs 
     
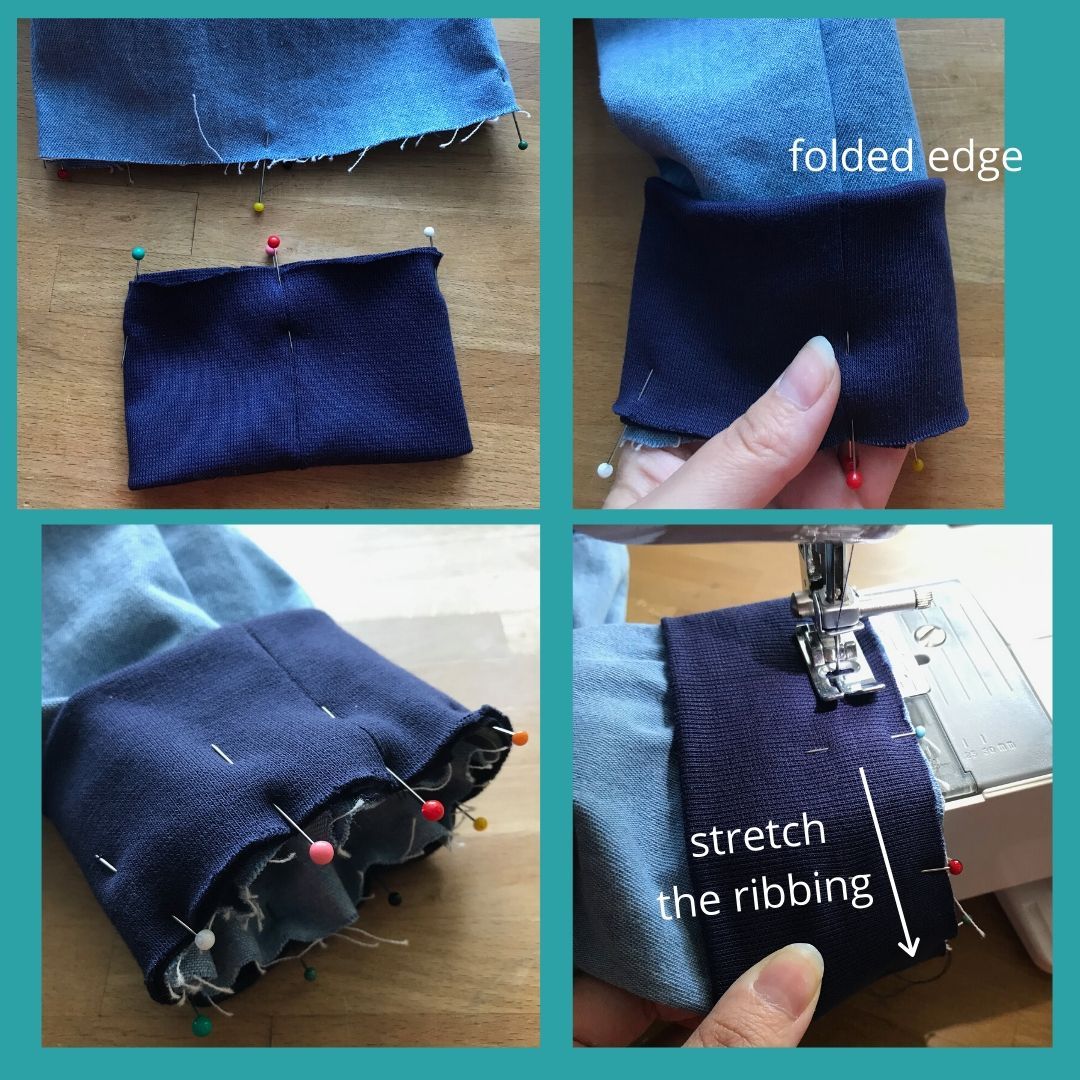
    5/ Divide the sleeve edge into four in the same way.
    6/ Put the cuff over the sleeve and match the seams together with the raw edges aligned. You should be able to see three layers of fabric if you’ve got it right.
    7/ Stretch the ribbing to pin it in place and once you’ve got all four matched up you can add some more pins in the gaps in between to ensure an even gathering of the sleeve fabric. It might look like it’s rippled but it’ll be stretched out when it’s sewn.
    8/ If you can fit the sleeve over the machine arm you can stretch the ribbing towards
    yourself as you sew.
     
    topstitched
     
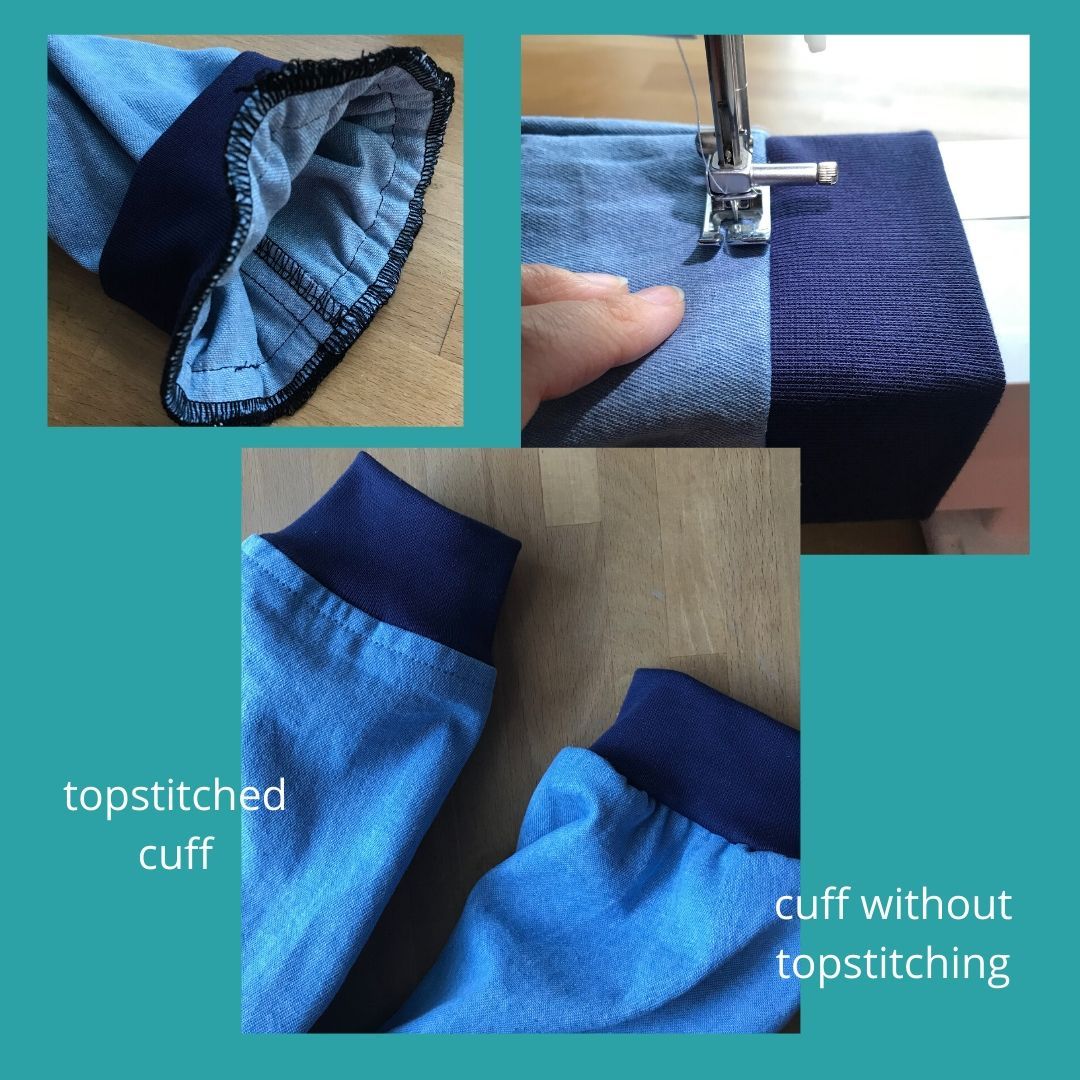
    9/ Press the seams into the sleeve and zigzag or overlock the raw edges together.
    10/ This is optional but if you want to make the sleeve look less gathered you can topstitch the seam allowance of the cuff to the sleeve. As you can see in the photo the two sleeves look quite different.
     
    bomberjacket20
     
    I hope you've found these tips useful and I would love to know if you have made something from your fabric scraps?
     
  2. Make your own Face Mask

    Posted on

    Well these are scary and weird times and we are all doing our best to get through the coming weeks in the safest and best way we can. The best thing we can do is stay at home but of course we do have to leave our sewing machines somethimes and face the world!

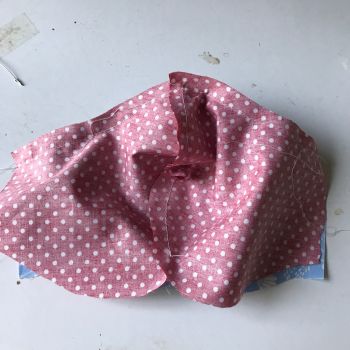
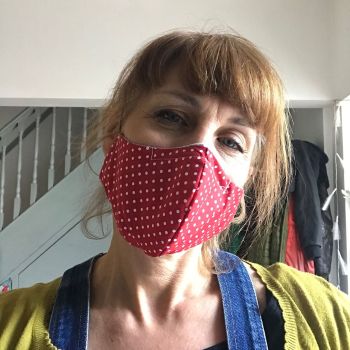
    Dee's been busy making face masks and donating them to people doing voluntary work that can’t get hold of the clinical ones. We've had  lots of request for the pattern so here is the PDF pattern and the some instructions.


    It's important to remember these are NOT clinical masks and they don’t stop all covid 19 particles from the air but they do stop them getting onto your nose and mouth from your hands. It does give the wearer an added barrier of safety. They have to be washed after each use and not worn for too long at a time.

    They are easy to make from scraps of tight woven fabrics - 100% cotton is best.
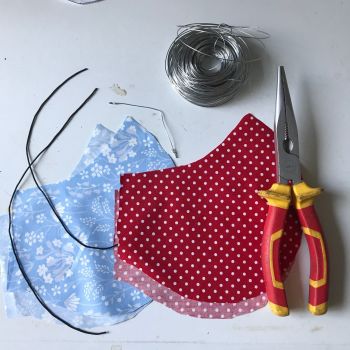
    This version has the option of adding some thin wire to create a better fit across the nose but don't worry if you don't have any it is not essential.
    IMG_1035

    • Fold fabric right sides together and cut out 4 pieces – 2 of
    each fabric. Pin and stitch from top to bottom of curve.
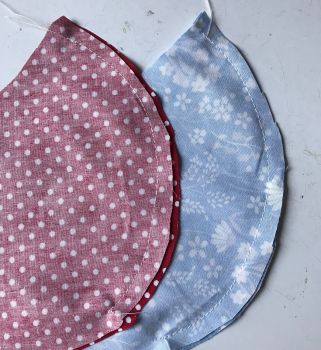
    IMG_1036


    • Turn both pieces out and pin together the top edges – right
    sides facing. Pivoting at centre top.
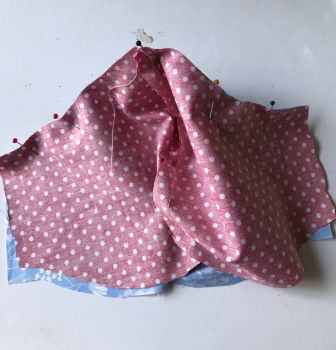
    IMG_1037

    IMG_1038


    • This next step is if you want to insert wire around top of nose.
    This will give a tighter fit but not essential.


    • Turn fabric to right side out- press top seam – then make a
    channel for the wire to sit in by sewing on the right side
    through both layers, leave one end open.
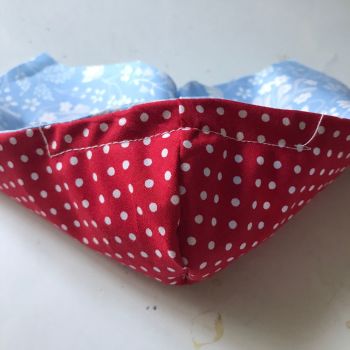
    IMG_1039

    Cut a piece of thin wire –(garden-craft, whatever you have available) 8cm long
    with the ends cured round. Insert it into the channel in
    between the layers of fabric. Sew up the end with a few
    stitches back n forth. Turn back to right sides together.
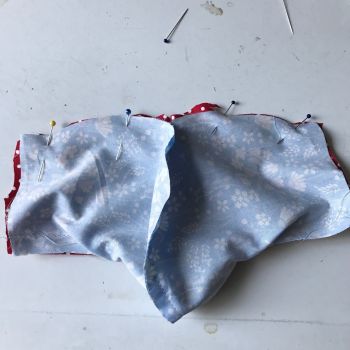
    IMG_1040

    • Pin bottom edge together – right sides facing- stitch.


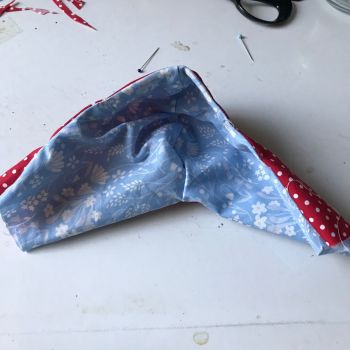
    • Turn the mask out through one of the open ends.
    IMG_1041


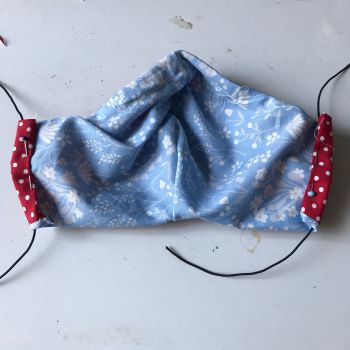
    • Hem the ends with elastic, cord or tape threaded through.
    Stitch down.
    IMG_1042


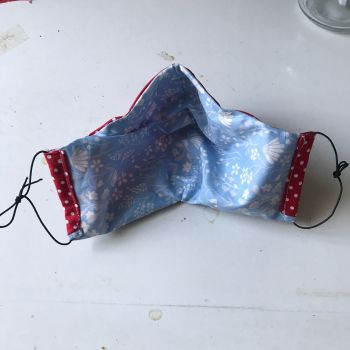
    • Tie ends of elastic together to make ear loops, adjust to fit.
    IMG_1044

    IMG_1045


    Keep sewing, keep safe XXX
    Love Team Flo-Jo