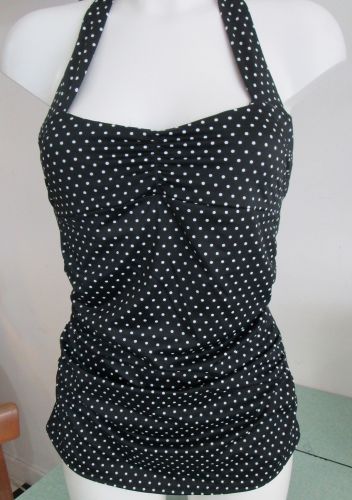
As lovers of swimming and swimwear it was only a matter of time before we designed our own swimming costume pattern.
Meet 'Belle' a vintage styled halter neck costume pattern with a flattering gathered front skirt and elasticated bust support. The pattern is graded to include U.K. size 6-20 and can be easily adapted to have added soft cups.
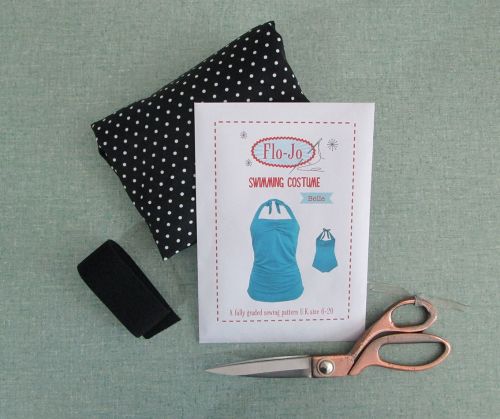
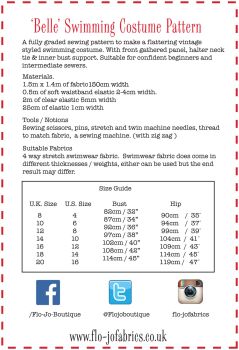
You will need approx 1.5 metres of 4 way stretch swimwear fabric.
Swimwear fabric does come in different thicknesses & weights, any can be used but the end result may differ. We stock a growing range of suitable fabrics, I chose a versatile polka dot which would well for both the pool and the beach!
First things first; it is really important to change your sewing machine to the correct needle. Fabrics with a high lycra content need to be sewn with a stretch or twin needle. This will make sure your stitches don't skip and will stretch with the fabric and not snap.
After cutting your pattern pieces the first stage is to attach the wide elastic to create the bust support. A small zig zag stitch is used to join the two pieces, sewing along the top edge of the elastic to gather the inner front piece.
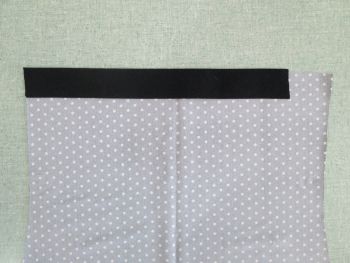
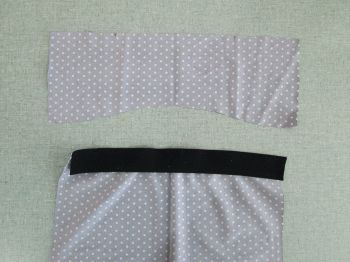
Next one of the two bust pieces is attached to the front inner. Line up the notched edges right side of bust to wrong side of front inner, the elastic is sandwiched in between. You will need to flatten out the elasticated edge to match the notches and pin. Then flatten again when you sew across to join the two pieces.
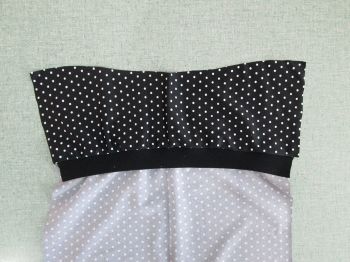
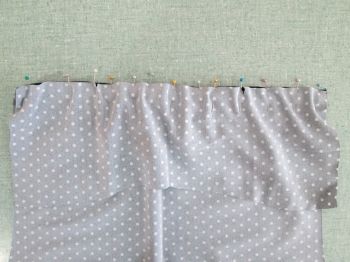
Next I joined the inner front, the gusset and the back together along the gusset edge. It is best to use either a twin needle or a stretch stitch at this stage. The back piece is sandwiched between the gusset and the front, which then will allow you to flip the gusset to encase the seam. It is then best to tack the gusset pieces together to secure and trim them if necessary.I like to have a swimming costume with some additional structure, so added some soft swimwear cups at this stage. Before doing so I sewed all my gather stitches on both bust pieces and the front skirt. I then positioned the cups on the wrong side of the inner bust piece making sure the cup curved outwards. I found that the cups needed trimming for my cup size and to create a soft curve to mirror the shape of the bust piece. Once I was happy I pinned and zig zaged around each cup to secure.
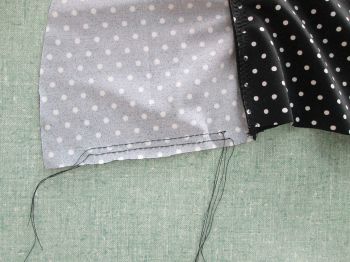
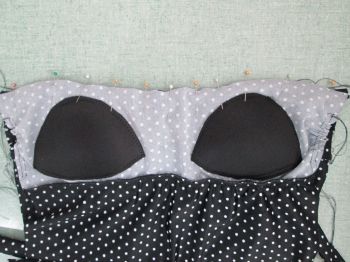
Now time to work on the outer bust piece.
To create some shape a small piece of elastic is attached to wrong side and gathered by stretching the elastic and zig zagging along to create a 'rouche'. A 3 step zig zag can be used at this stage to create a slightly more decorative effect. Have a play around on a scrap of fabric with a spare piece of elastic to find the stitch width and type you prefer, practice your gathering technique. Best to make any mistakes on the practice as swimwear fabric is not the easiest to unpick!
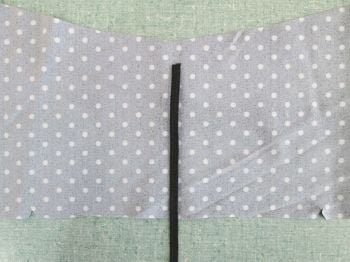
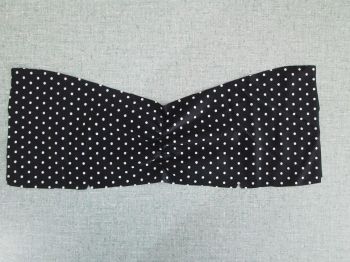
Once you are happy with the result attach the front bust piece to the outer gathered skirt.
Now time to turn your attention to the gusset! Join the inner front to the back along the gusset edge. Follow the instructions step by step to make sure you get your 3 pieces in the right order and don't get your gusset in a twist! The back piece is sandwiched between the gusset and front piece. Pin and sew.
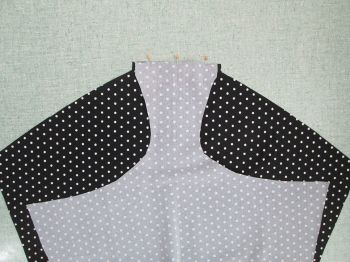
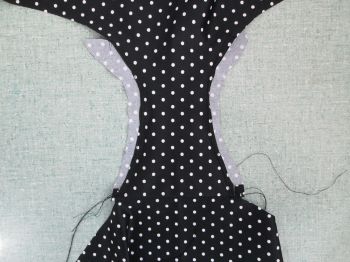
Open out the gusset laying it flat, I recommend sewing down either side or the gusset to secure and trim to fit.
Before joining your inner and outer front pieces together you need to create the halter neck ties. Fold and pin each tie right side together lengthwise. Make sure your machine is on a single needle and set to a stretch stitch. Experience has taught us that this stitch setting creates the strongest and stretchiest stitch, which is needed to make sure the ties are both strong and stretchy. Then turn your ties through to the right side.
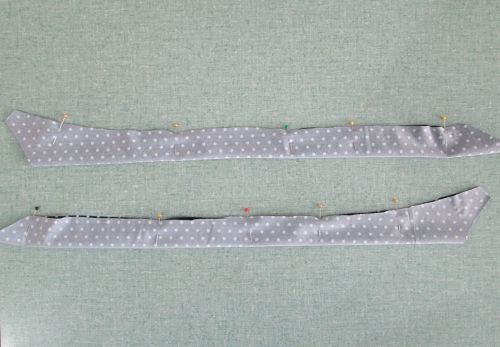
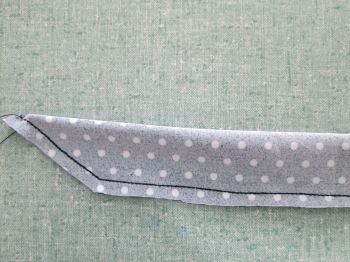 Attach the ties to the outer front bust piece positioning using the 'strap' markings from your pattern piece (approx 2cm from the edge)
Next place the outer front right side up on the table with the ties facing downwards, the inner front is then placed on top with the cups facing downwards. Pin across the top edge and sew to join the two front layers together, a strip of clear elastic can be added at this stage along the seam. This adds extra elasticity and support.
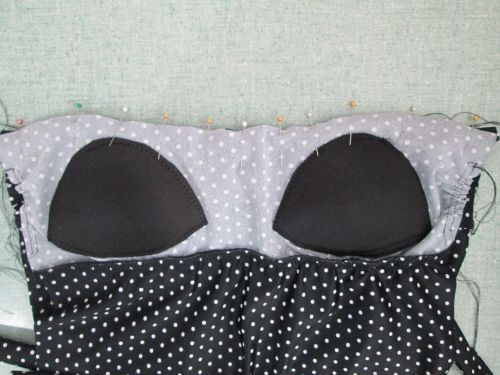
Next sew a small hem along the front of the outer skirt using a twin needle. Then hem around each leg sandwiching a piece of clear elastic under each hem to add extra support and elasticity. The hemmed leg and gusset will look like this.
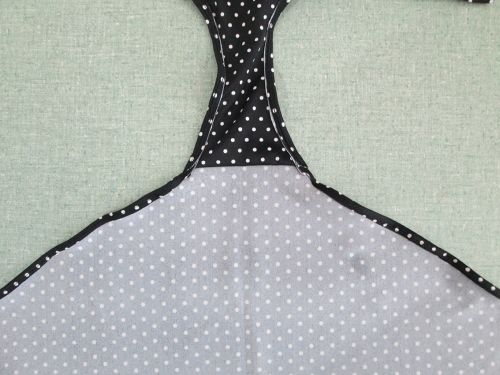
Finally turn the two front pieces so they are the right way round and pin them togetyher along each side seam. Make sure the gathers are even as you pin, then sew them together to secure. This makes makes sure everything stays in place before you join the font and back together.
Place the font and back right sides together. Don't worry the back piece is meant to be 1cm longer! Working with the front side up, fold the back top corner over onto the front and pin onto the front and all of the side seam. (This is difficult to describe in words, but the pictures will make it clear!)
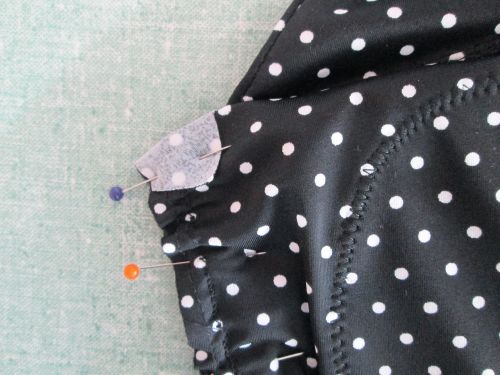
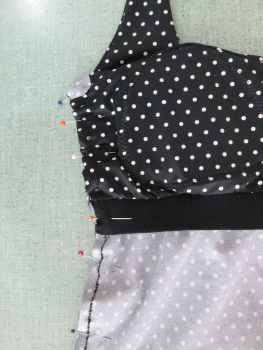
Stitch the side seam with a 1cm s.a. I used a twin needle, or you can use a four thread overlocker if you have one and this will produce a very professional finish. Finally bag out the top corner, trimming away any bulk and hem the back using the same technique as the legs.
Trim any loose threads and turn through to reveal your fantastic hand made swimming costume.
Time to head to pool!
