Make Up Bag
Posted on
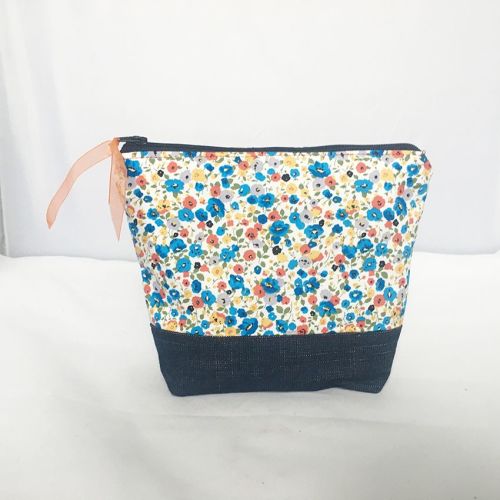
Make up bags are a great project, perfect for using up small bits of fabric and quick to make as gifts for Christmas. Here is our step by step guide to making a fully lined zipped bag.
What you will need:
Materials
2 x 14cm x 23cm printed cotton fabric - Piece A
2 x 10m x 23cm Denim or canvas - Piece B
2 x 21cm x 23cm lining fabric Piece C
2 x 21cm x 23cm firm fusible interfacing
20cm zip
Notions
Thread
Tape measure
Chalk or fabric marker
Pins
Sewing machine with a zipper foot.
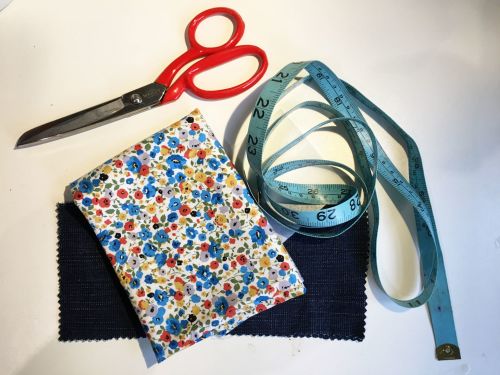
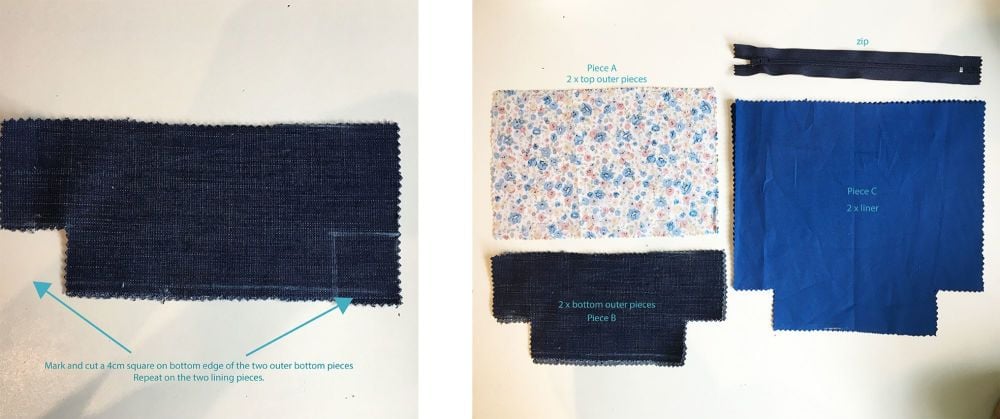
Measure and cut the pieces for your make up bag using the guide above - you now have all you need to get sewing!
Take your two lining pieces - C and your two canvas pieces - B and mark two 4cm squares on the bottom long edge of each piece. Cut each marked sqaure out.
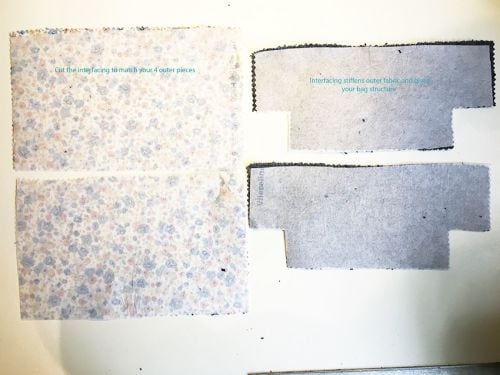
Cut 4 pieces of interacing to match the 4 outer pieces of fabric.
Iron the interfacing onto the wrong side of the outer pieces using a hot iron. Make sure you place a cloth between the iron and the interfacing so as not to melt the interfacing to the iron.
Take outer piece A and outer piece B and line up and pin the long edge right sides together.
Sew together with a 1cm s.a.
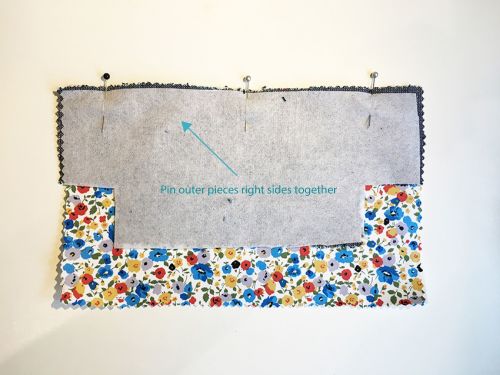
Press the seam open and then press the seam downwards.
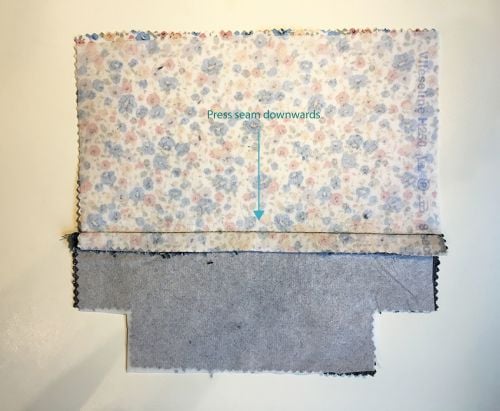
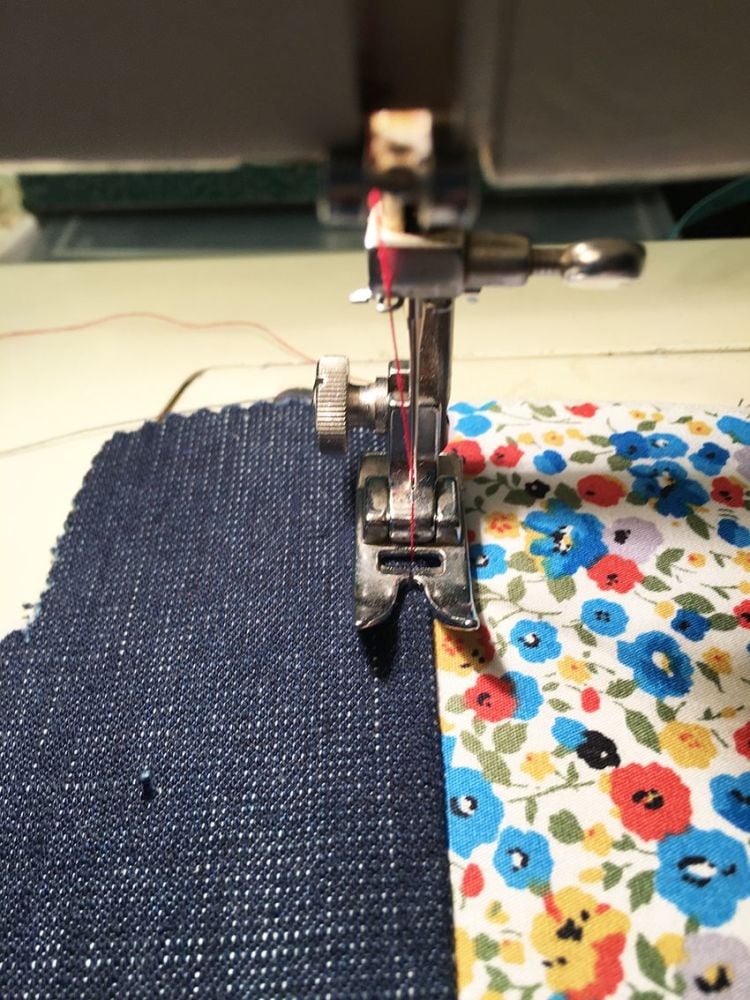
Topstitch the seam down. You can use a contrast thread and lengthen your stitch length to 3 to create more of a feature. Repeat on the other side.
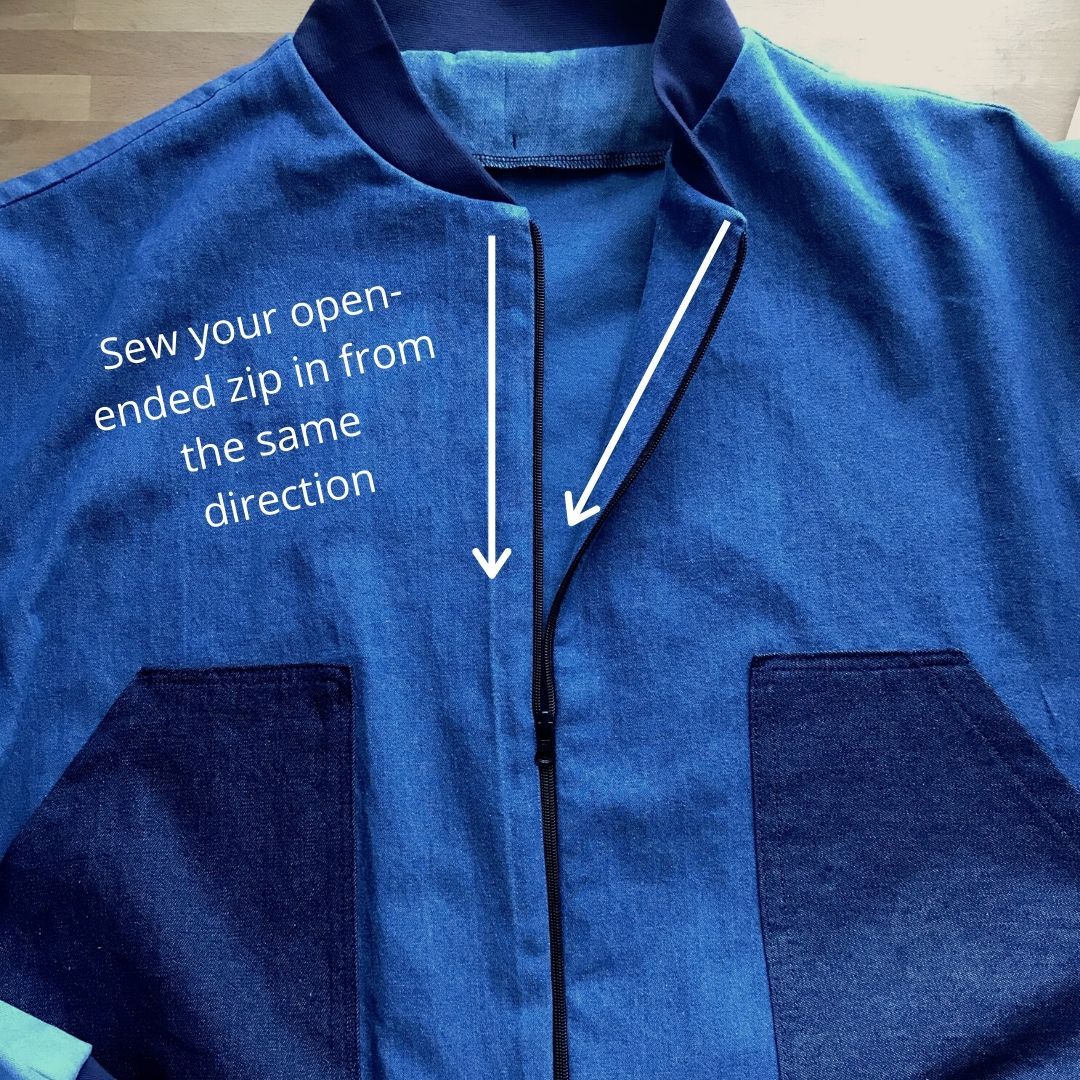
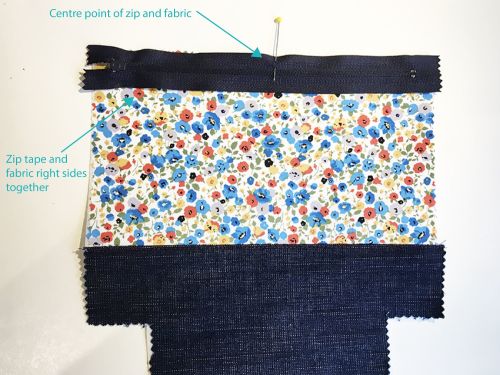
Take one side of the the outer bag and fold in half to find the centre and mark with a pin along the top edge. Place it on the table right side up. Take the zip and fold to find the centre place on top right sides together and pin together at the centre point. Line up the edge of the zip tape withthe edge of the fabric.
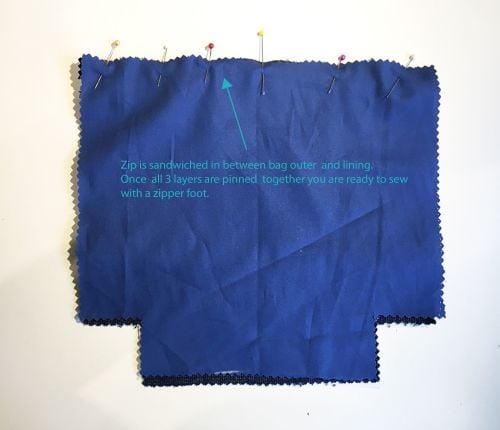
Take lining piece C and place ontop right side down. Make sure all three pieces line up along the top edge and pin together. The zip is sandwiched in the middle. Sew together using a zipper foot, back stitching to th at either end.
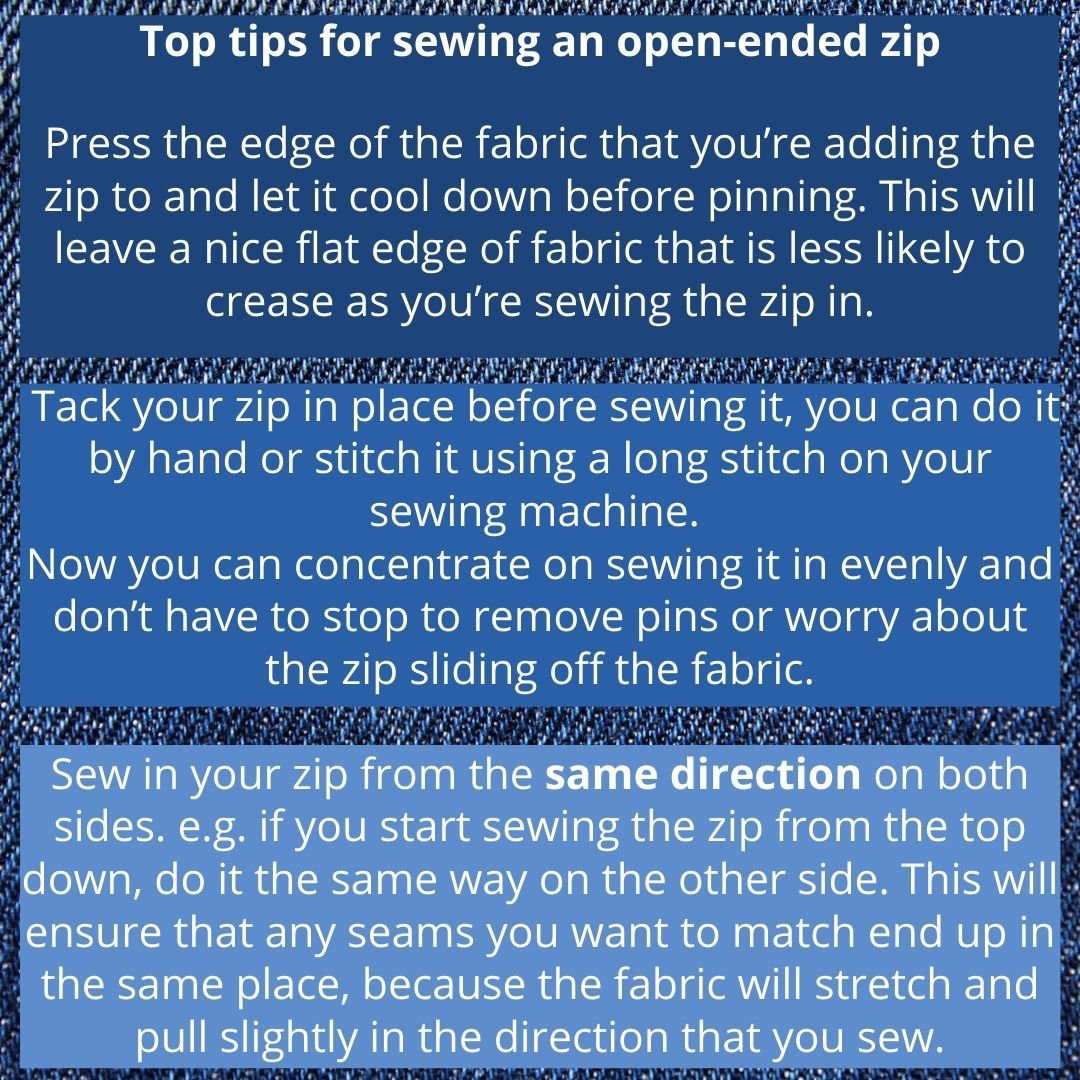
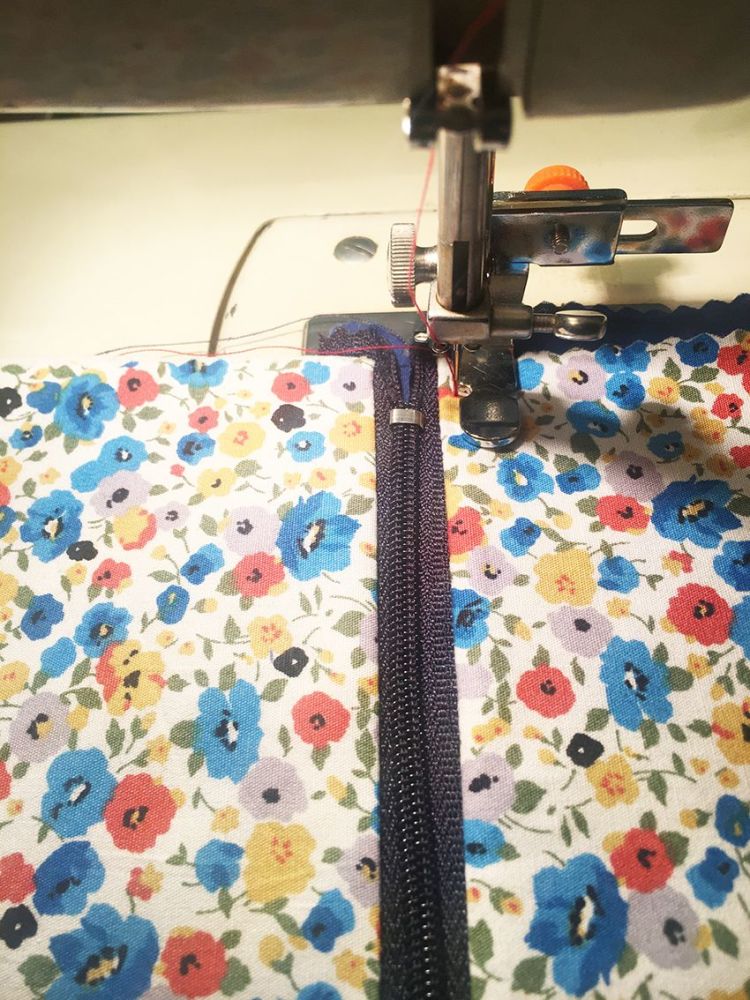
Sewing zip tip: Open up your zipper half way. Sew along the tape until you reach the zip pull. Stop. With your needle down lift up your presser foot so you can easily pull the zip pull the zip pull out of the way. You can then continue to sew along the zipper tape to the end.
Make sure your zip opens and closed nicely.
Repeat on other side.
Press the outer fabric and the lining fabric away from the zip making sure you keep the iron away from the plastic zipper teeth. Top stitch the three layers together. This will hold your fabric in place and stop the lining catching in the zip.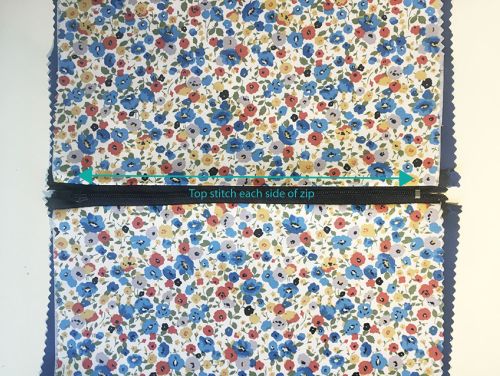
Sew with a zipper foot so you can sew nice and close to your zip.
Remember do not sew to the end of the tape.
If at this stage your lining and your outer fabrics do not match exactly trim off any excess to make the pieces align.
IMPORTANT BEFORE YOU DO THE NEXT BIT - OPEN UP YOUR ZIP!
Lay your pieces out flat so that the lining pieces are right sides together and the outer pieces are right sides together. When you get to the zip tape fold that in half aswell and make sure the tape sits down towards the lining of the bag.
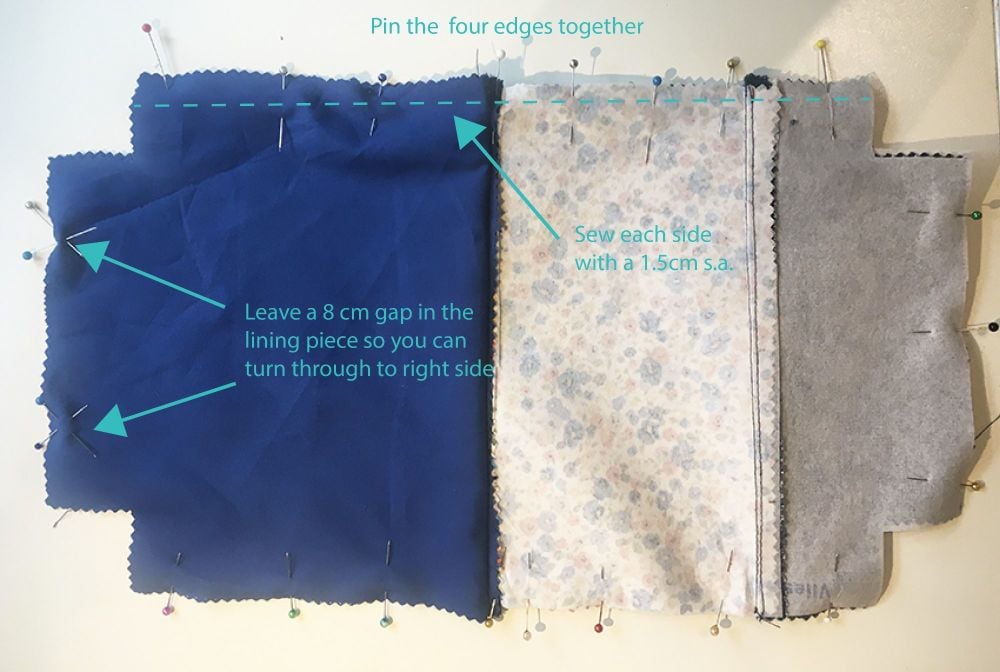
Pin all the way around leaving a 8cm gap at the bottom of the lining.
Sew the four sides with a 1.5cm S.A. back tacking at each end. (do not sew where you have cut out the corners)
Next we are going to sew the corners which form the base of the bag. Flatten out each corner section matching the centre seam. Pin along the edge and sew together with a 1cm s.a. back tacking at each end.
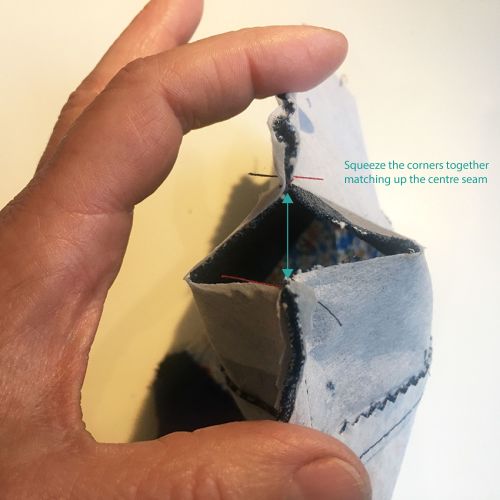
Pin this edge together opening up the centre seam to even out the bulk. Sew carefully with a 1cm s.a. back tacking at each end.
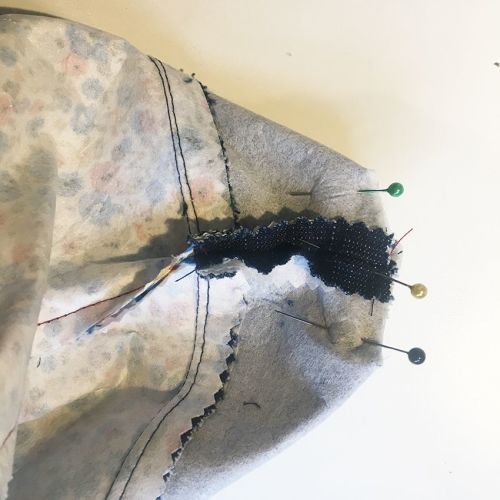
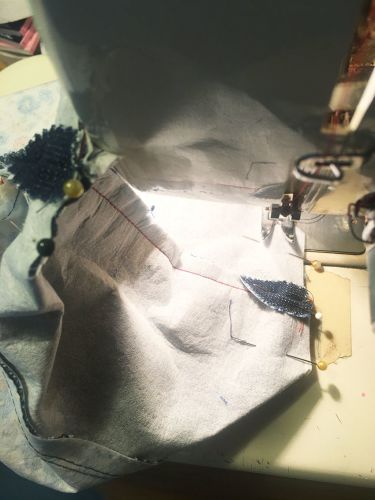
It will feel quite thick and a bit awkward as you sew across the seam but don't worry just go slowly.
Repeat on your other outer corner and then on the corners of the lining.
Finally turn your bag all the way through the hole in the lining. You are going to sew up the hole in the lining but before you do make sure you are happy that your bag is sewn together properly and that your zip is working well.
Once you are happy you can either sew the lining together on the machine or hand sew the hole closed using a slip stitch.
