Flo-Jo Blog

 RSS Feed

» Listings for 2020

  1. So the Great British Sewing Bee is back and you've got a bit of (lockdown) time on your hands! You feel inspired to dust down the sewing machine that has been sitting in the cupboard and get sewing! But where to start?

    Unfortunately, right now the workshop is closed until it is safe to re-open but in the meantime we can share some top tips with you on how to get started. 

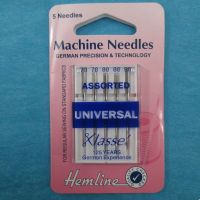
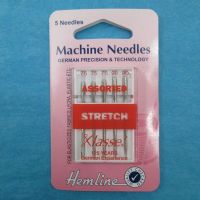
    So give that neglected machine a little dust down and first and foremost make sure you have a nice new needle suitable for the type of fabric you are going to be working on. If you machine is working properly you really shouldn't fiddle with the tension but the wrong or blunt needle can cause a whole host of problems. 

    Standard universal needles come in different sizes -  fine needles for delicate fabrics and thicker (higher number) needles for canvases and denim. Jersey fabrics need a ballpoint needle and even stretchier fabrics such as lycra and swimwear need a stretch needle.

    universal  ballpoint  stretch

    So now it's time to start sewing....

    There are hundreds great You tube videos out there on how to thread a machine and get started and a multitude of free projects that you can watch or download. Cushions are  a great place to start and bunting is a fun and simple project that the kids can get involved in too. 

    bunting

    If you want to jump into the world of dressmaking one of the first hurdles that people have is understanding all the terminology and symbols on the pattern pieces. All of the independent pattern companies that we stock have instructions and glossaries that make them so much easier to follow than old pattern companies that relied upon you having a level of knowledge already.

    It really is worth taking the time to read the guidelines as this will help make the difference between you making a garment that you will be happy to wear or one that you give up on and don't quite understand why the pattern didn't work. Don't worry we have all been there!!
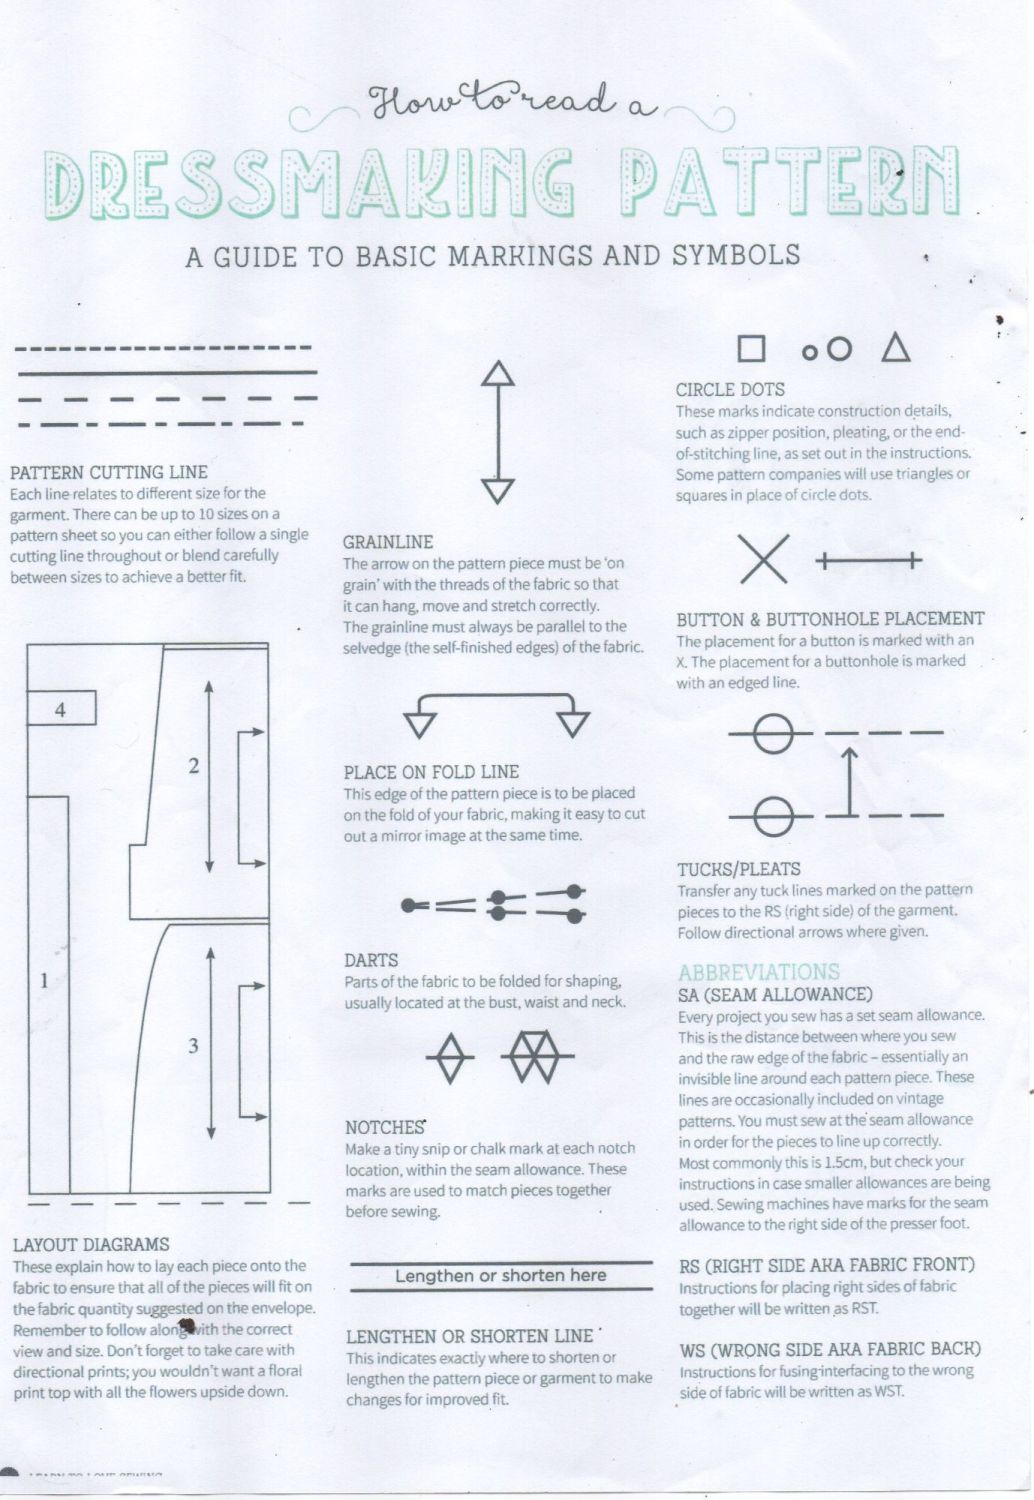
    how to reaad a dressmaking pattern


    Remember Instagram is a great way to get inspiration and feel part of the bigger sewing community, especially whilst we are all in our homes.

    So stay safe and keep sewing!

  2. Well these are scary and weird times and we are all doing our best to get through the coming weeks in the safest and best way we can. The best thing we can do is stay at home but of course we do have to leave our sewing machines somethimes and face the world!

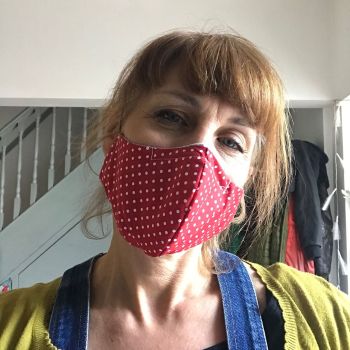
    Dee's been busy making face masks and donating them to people doing voluntary work that can’t get hold of the clinical ones. We've had  lots of request for the pattern so here is the PDF pattern and the some instructions.


    It's important to remember these are NOT clinical masks and they don’t stop all covid 19 particles from the air but they do stop them getting onto your nose and mouth from your hands. It does give the wearer an added barrier of safety. They have to be washed after each use and not worn for too long at a time.

    They are easy to make from scraps of tight woven fabrics - 100% cotton is best.
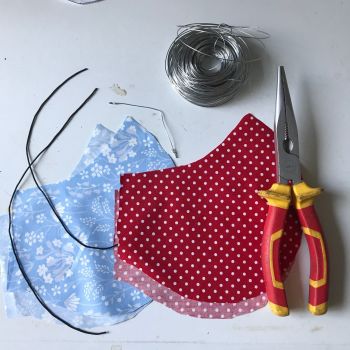
    This version has the option of adding some thin wire to create a better fit across the nose but don't worry if you don't have any it is not essential.

    IMG_1035

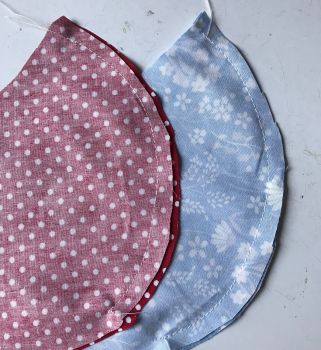
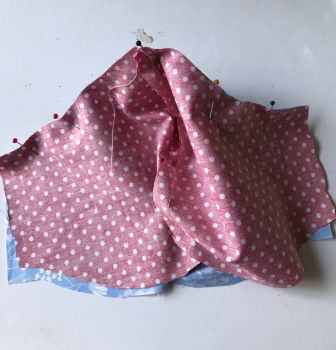
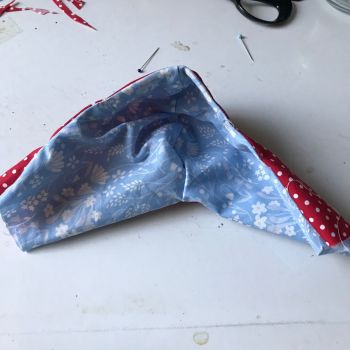
    • Fold fabric right sides together and cut out 4 pieces – 2 of
    each fabric. Pin and stitch from top to bottom of curve.

    IMG_1036


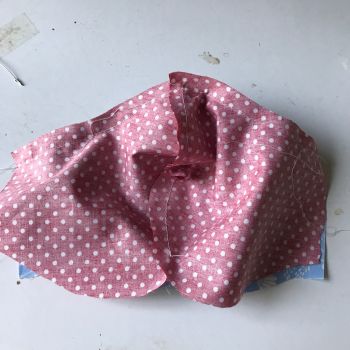
    • Turn both pieces out and pin together the top edges – right
    sides facing. Pivoting at centre top.

    IMG_1037

    IMG_1038


    • This next step is if you want to insert wire around top of nose.
    This will give a tighter fit but not essential.


    • Turn fabric to right side out- press top seam – then make a
    channel for the wire to sit in by sewing on the right side
    through both layers, leave one end open.

    IMG_1039

    Cut a piece of thin wire –(garden-craft, whatever you have available) 8cm long
    with the ends cured round. Insert it into the channel in
    between the layers of fabric. Sew up the end with a few
    stitches back n forth. Turn back to right sides together.

    IMG_1040

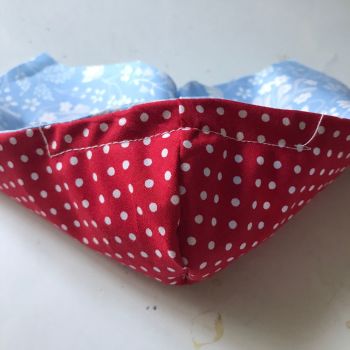
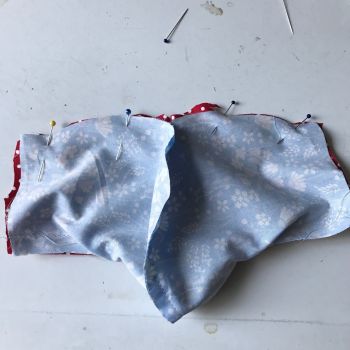
    • Pin bottom edge together – right sides facing- stitch.


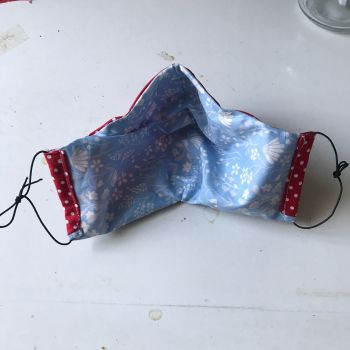
    • Turn the mask out through one of the open ends.

    IMG_1041


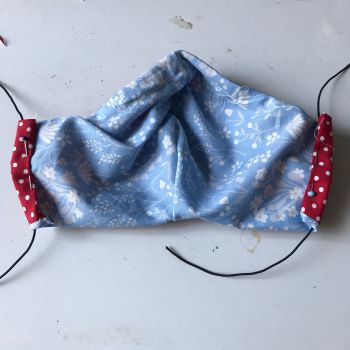
    • Hem the ends with elastic, cord or tape threaded through.
    Stitch down.

    IMG_1042


    • Tie ends of elastic together to make ear loops, adjust to fit.

    IMG_1044

    IMG_1045


    Keep sewing, keep safe XXX
    Love Team Flo-Jo